Bootstrap Radio Input
Introduction
In some instances the small items turn out to be certainly the very most critical given that the complete picture is in fact a entirely consisting of plenty of very small features enhanced and stacked if you want to feature and look as a well-oiled shiny machine. These straight words might appear a little bit too much when it comes to form controls yet in the event that you just consider about it for a little bit there is simply just a single feature enabling the website visitor to grab one among a couple obtainable opportunities. And so in the event that you are actually possessing a couple of forms by having this form of solutions controls over your several web sites does this mean they will all look similar?And most significantly-- would you choose that?
Luckily for us the current edition of ultimate popular mobile phone friendly system - Bootstrap 4 comes fully stuffed with a bright new concept to the responsive behavior of the Bootstrap Radio Button commands and just what is bright new for this edition-- the so called customized form commands-- a combination of predefined appearances you are able to simply just take and employ if you want to incorporate the so desired at presents selection in the functional demonstrations of nearly uninteresting form parts. Therefore let's take a look precisely how the radio tabs are meant to be described and styled in Bootstrap 4.
Efficient ways to put into action the Bootstrap radio button:
In order to make a radio switch we primarily need to have a <div> element to wrap it within by having the .form-check or .form-check-inline applied. The 1st class will select the Bootstrap Radio Style a block appeal and the 2nd will line up the element inline along with ultimately a few more others such as it. These are really fresh classes for Bootstrap 4-- in the prior editions they used to get determined as .radio and .radio-inline. In the case that you desire the radio button to arrive on web page however to get disabled for clicking on-- make sure you have certainly likewise added the .disabled class here.
Inside the .form-check element we should first incorporate a <label> with the .form-check-label class selected and in it an <input> plus the .form-check-input class and certain attributes applied such as type = “radio”, name = “ ~ same name for all the options ~ ” supposing that you have a few radio buttons defining a few options a site visitor have to get from they really should possess the same name however different special id = “ ~ unique ID ~ “ attribute and a value=” ~some value here ~ ” attribute. Finally in the case that you are actually intending to disable the control -- in addition add the disabled attribute to the <input> element.
This is in addition the area to specify in the case that you wish the radio control to initially load like checked the moment the page gets loaded. If this is really what you're after-- in place of disabled bring in the checked attribute to the <input>. In case you appear to intentionally or else accidentally incorporate a few radio buttons with the checked attribute-- the last one read is going to be as well the one showing as checked on web page load.
Checkbox and Bootstrap Radio Event some examples
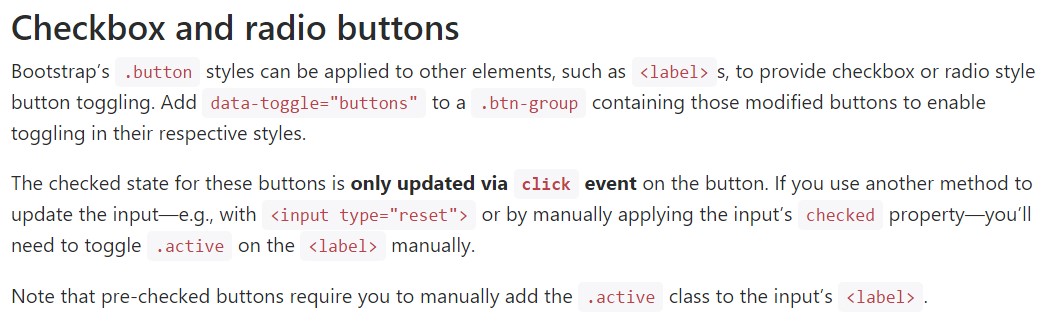
Bootstrap's .button styles can be put on various other elements, just like <label>- s, to generate checkbox or radio style button toggling. Add data-toggle=" buttons" to .btn-group including those reworked buttons to set up toggling in their respective styles. The checked state for these buttons is only updated via click event on the button.
Bear in mind that pre-checked buttons require you to manually add the .active class to the input's <label>.
Checkbox

<div class="btn-group" data-toggle="buttons">
  <label class="btn btn-primary active">
    <input type="checkbox" checked autocomplete="off"> Checkbox 1 (pre-checked)
  </label>
  <label class="btn btn-primary">
    <input type="checkbox" autocomplete="off"> Checkbox 2
  </label>
  <label class="btn btn-primary">
    <input type="checkbox" autocomplete="off"> Checkbox 3
  </label>
</div>
Radio

<div class="btn-group" data-toggle="buttons">
  <label class="btn btn-primary active">
    <input type="radio" name="options" id="option1" autocomplete="off" checked> Radio 1 (preselected)
  </label>
  <label class="btn btn-primary">
    <input type="radio" name="options" id="option2" autocomplete="off"> Radio 2
  </label>
  <label class="btn btn-primary">
    <input type="radio" name="options" id="option3" autocomplete="off"> Radio 3
  </label>
</div>
Radio button approach
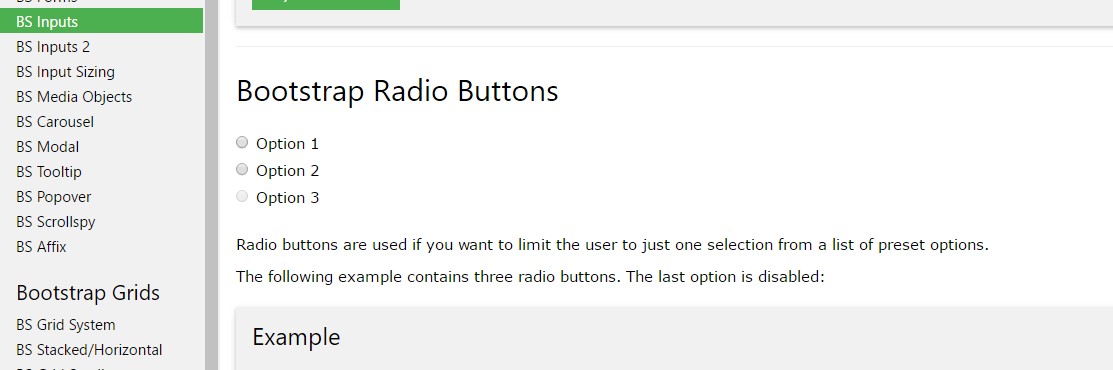
Whenever we need the user to pick only one of a series of features, we can certainly put to use input components of the radio style.
When there is over a single element of this form with the same value inside the name attribute, just one may be selected.

<div class="row">
  <div class="col-lg-6">
    <div class="input-group">
      <span class="input-group-addon">
        <input type="checkbox" aria-label="Checkbox for following text input">
      </span>
      <input type="text" class="form-control" aria-label="Text input with checkbox">
    </div>
  </div>
  <div class="col-lg-6">
    <div class="input-group">
      <span class="input-group-addon">
        <input type="radio" aria-label="Radio button for following text input">
      </span>
      <input type="text" class="form-control" aria-label="Text input with radio button">
    </div>
  </div>
</div>
Conclusions
Primarily this is the strategy the default radio switches get defined and carry on along within Bootstrap 4-- in a moment all you need are some solutions for the site visitors to select from.
Review some on-line video information regarding Bootstrap Radio Button:
Connected topics:
Bootstrap buttons formal documents
Bootstrap Radio button - information
Checkbox radio buttons break entire toolbar styling
